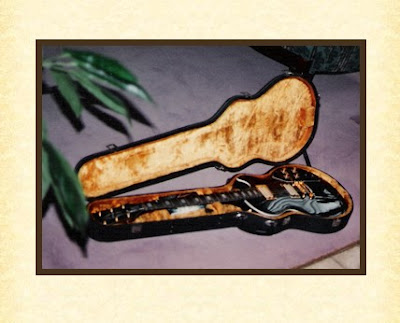
A few years ago I was approached by a fellow who had a Gibson Les Paul Recording Guitar which was a variation of the established model. Back in the early 1970s, Gibson began experimenting with new models such as the "Les Paul Recording." This model is often eschewed by guitar purists: considered too full of "gadgetry." The "Recording" featured low-impedance pickups, many switches and buttons, and a highly specialized cable for impedance-matching to the amplifier.
The instrument I received had a badly damaged finish. At one time someone had modified the instrument by removing the low impedance pickups and replaced them with traditional humbuckers. This entailed filling the original pickup cavities and re-routing new ones appropriate for the humbuckers.
As the instrument had no value in the condition that it was in, I proceeded to make it both playable and ascetically pleasing.
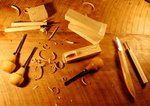
Below are a few of the steps in the progression of the rebuild.

 Body spray painted with gloss black water based Hydrocote brand finish. Clearcoat Hydrocote sprayed as topcoat. Finish is "rubbed out" using a variety of abrasives from 'Micromesh' cloth to powdered abrasives such as Pumice and Rottenstone in water or paraffin oil. Final gloss is achieved with Meguier brand automotive finish compounds.
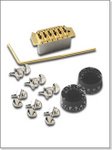
 Making sure hardware fits. Caution! A nice tight fit may be reduced in size due to the thickness of the finish used.
 New White binding attached to channel on guitar edge with Acetone based plastic cement.
Binding secured with tape while glue dries. Fret removal using soldering iron and pliers.
(Heat softens old glue and lessens wood chipping during removal) Frets cut to size and ends of frets are "nipped" using special tool.
Nipped ends of frets allow frets to run over binding without passing through them. Copper shielding glued into all electronics cavities to reduce extraneous electronic interference. Alternatively a metal particle paint can be used.
(extra contact cement ensures sticky copper back will adhere) Potentiometers (Volume & Tone) & Selector Switch with Output Jack on underside of copper shielded control cavity cover.
(Cavity cover made four photos above)
Sunday, 2 November 2008
Gibson Les Paul Recording Guitar Rebuild
(SelectedPhotos Follow Below)
* * *
Stripping old finish off of the Guitar body using a 3-M environmentally safe paint stripper
* * *
Posted by
Yuri
at
20:07
6
comments
![]()
Labels: Gibson Les Paul Recording Guitar, Rebuild
Subscribe to:
Comments (Atom)

